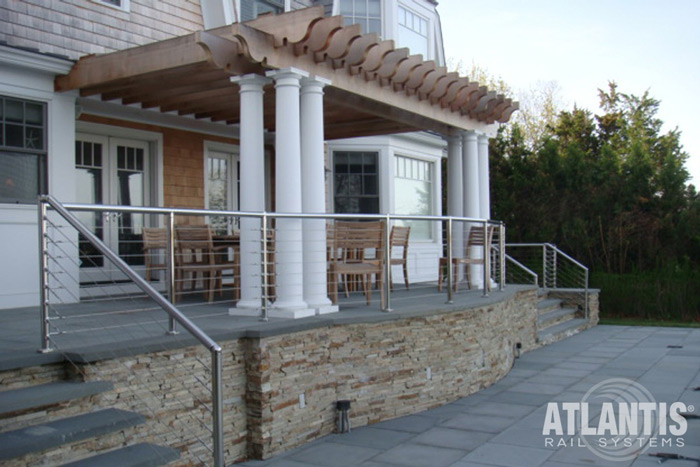
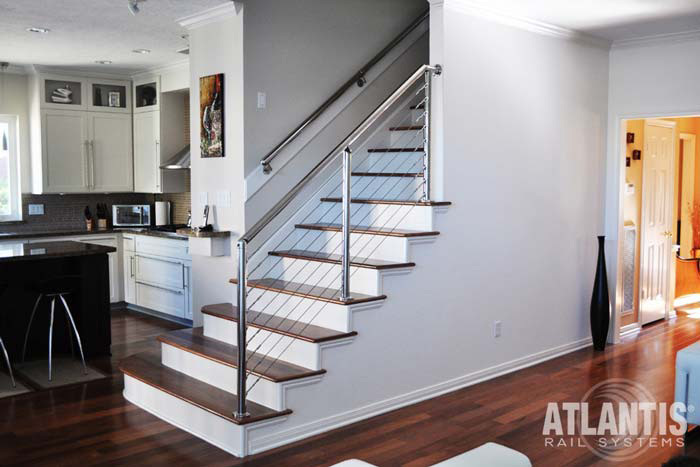
Cable railing systems offer several advantages that other more conventional types of railings do not. Besides providing a clean and modern look to both interiors and exteriors, they offer great strength and durability. They also substantially enhance views from decks and balconies. When properly installed, cable rail systems can be a safe enhancement to your environment, providing sturdy support for stairways and decks. The installment includes properly tensioning your cable railing for safety and durability.
Many home and business owners choose to DIY cable railing installs using the materials, fasteners, tools, accessories, and instructions provided by designers/manufacturers like Atlantis Rail Systems. Always follow the instructions provided by the manufacturer.
One main factor when installing and maintaining cable railings is cable tension. This is essential for the cable system’s safety and durability. Make sure to consult and follow the tensioning sequence provided in your instructions. It is critical and often similar between manufacturers.
Tips on Properly Tensioning Your Cable Railing
Too Tight Can be Damaging
Over tightening your cables during or after installation can damage the post and rails. The cable should only be tensioned enough to not allow a 4” sphere to easily push through the cables. A 4” sphere is the typical code inspection tool used by inspectors.
Over tightening cables can cause post deflection, and if you see this happening, you are probably over tightening. You should back off slightly and attempt subtle adjustment to achieve consistent tension, and always maintain the tensioning sequence.
Too Loose Can Be Unsafe
Sagging cables can be unsightly and sloppy looking. But, most importantly, they are not safe and are unlikely to meet building code requirements. When any individual cable is slack it will likely exceed the maximum 4” spacing.
When one or more cables seem slack, check all hardware for loose connections and attempt to tighten each connection as a precaution. Using a light touch and again following the prescribed tensioning sequence, lightly tension all cables and recheck the cables that were previously sagging.
Is There a Tension Level Standard?
The principal requirement for a cable railing system is, once again, that the cables should be tight enough that they do not easily admit a 4-inch sphere. Since wood and metal each withstand different tension levels before damage occurs, their maximum tension levels can differ.
In either case, maintaining your cables at a rate of about 200 pounds should give you the proper tension. This should continue to comply with the 4-inch sphere rule. However, always double-check and follow the manufacturer tensioning instructions. Or if you are still unsure, consider contacting a professional to double-check.
Installing Your Atlantis Cable Railing System
Atlantis Rail Systems, a leader in the cable railing system industry, provides detailed instructions for do-it-yourselfers. Their cable railing systems will include all of the necessary fasteners and instructions for how to tighten the tensioners to ensure safety and longevity. Some fasteners are not included due to different mounting surfaces. Furthermore, owners will need to periodically check the tension levels to ensure the system stays within code and is safe.
For more information about cable railing systems and to view Atlantis Rail Systems’ many options and configurations, visit their Railing Gallery on their website.
For any questions or to talk about your vision of a new railing system, contact Atlantis Rail Systems at +1-800-541-6829.
Alternatively, you may complete the Atlantis Contact Us Form, and one of our professionals will be in touch.